


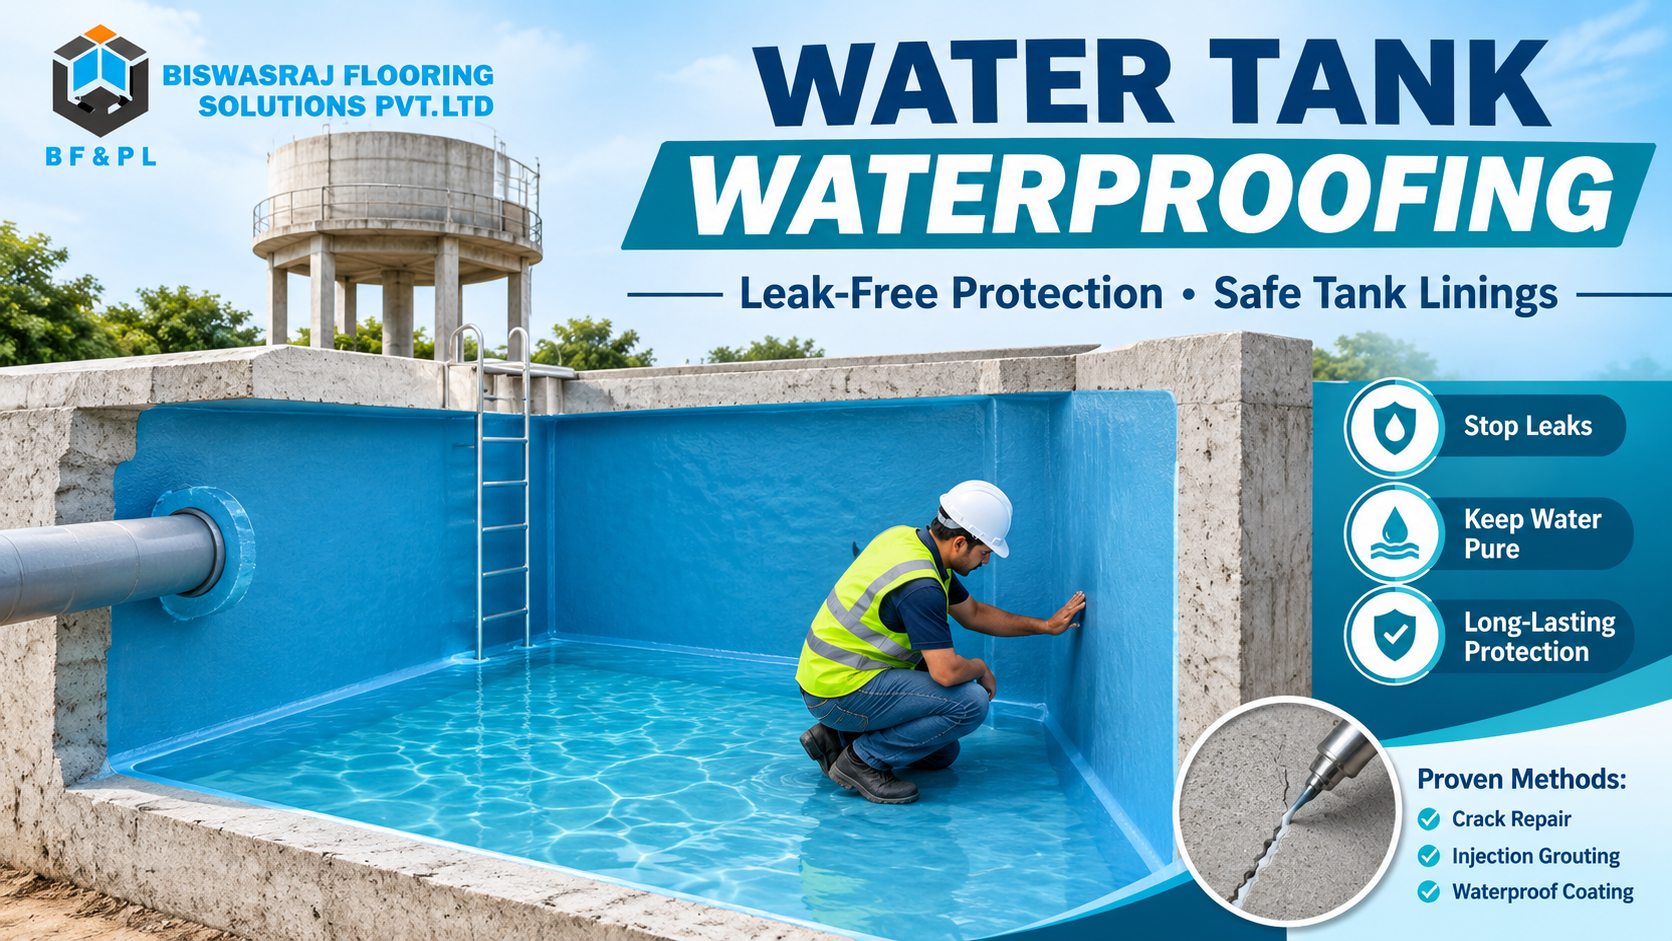
Water tank waterproofing seals the inside of a concrete tank, overhead or underground, so it holds water without leaking and without contaminating it. A full tank 2 metres deep presses about 19.6 kPa onto its floor, so the lining must stay bonded under constant water load.
This guide covers concrete overhead tanks, underground sumps, and fire tanks. Overhead tanks usually sit on the roof, so read our terrace waterproofing guide too if the slab below is also damp.
At A Glance
Tanks covered: Concrete overhead tanks, underground sumps, and fire tanks
Methods: Crack repair, injection grouting, and liquid coatings
Coating rule: Inner lining certified for drinking water contact
Inspection: Free site inspection before any work
Plastic tanks rarely need lining; their leaks usually start at the fittings
Why Do Concrete Water Tanks Start Leaking?
Concrete tanks leak through the same weak points again and again: the joint where the walls meet the base, pipe entries, shrinkage cracks, and poorly compacted patches. Water tank waterproofing has to close every one of these, because water under pressure always finds the next gap.
A tank is under load every hour it holds water. Pressure grows by about 9.81 kPa for each metre of depth, so the base and the lower part of the walls take the most strain. That is where most leaks show first.
The common entry points are:
Wall to base joint: the cold joint left when the walls were cast after the floor
Pipe sleeves: inlet, outlet, overflow, and scour pipes with unsealed gaps
Shrinkage cracks: fine at first, wider after years of wetting and drying
Honeycombing: voids left by poor vibration of the concrete
Corroded steel: rust expands, cracks the cover, and opens a direct path
Old plaster: hollow, cracked lining that traps water behind it
Overhead tanks add movement from sun and wind. The top slab and walls heat up by day and cool at night, which keeps working any crack that is already there.
What Are The Signs That Your Tank Is Leaking?
The clearest sign is a water level that drops with every valve closed. Damp patches on the ceiling under an overhead tank, wet walls around a sump, and a pump that runs longer than before all point the same way. Catch it early and water tank waterproofing stays a repair, not a rebuild.
Each sign hints at where the water is going:
| Sign | Tank | What it points to |
|---|---|---|
| Level drops overnight with outlets shut | Any tank | A leak through the base, walls, or a pipe sleeve |
| Damp ceiling patch under the tank | Overhead | Seepage through the tank floor into the slab below |
| Wet band or white salts on outer walls | Overhead or sump | Slow seepage through cracks or the wall to base joint |
| Muddy or discoloured water in the sump | Underground | Groundwater or drain water getting in from outside |
| Rust stains near cracks | Any concrete tank | Water has reached the reinforcement |
| Pump running longer than usual | Any tank | Water lost faster than it is used |
A simple test helps before anyone climbs in. Mark the water level, shut every valve, and check again after a few hours without drawing water.
If you are working out how to stop water tank leakage, find the source first. Damp in nearby rooms can also come from plumbing or rain, which our post on treating damp walls and seepage problems helps you separate.
Which Waterproofing Method Works For Which Tank?
The right method depends on what failed and where. Cracks and pipe entries need repair or injection first, then the whole inner surface needs a continuous lining. The outside of an overhead tank also needs protection from sun and rain.
| Method | Applied to | Best for | Watch out for |
|---|---|---|---|
| Crack repair and injection grouting | Cracks, wall to base joint, pipe sleeves | Active leaks at points and lines | Seals points only, needs a lining on top |
| Cementitious or crystalline coating | Inner walls and base | Damp surfaces, low to moderate pressure | Product must be cleared for drinking water |
| Epoxy or polyurethane tank lining | Inner walls and base | Smooth, cleanable, watertight finish | Needs a dry surface and full cure before filling |
| External coating or membrane | Outer walls and top slab of overhead tanks | Weather protection and stopping rain entry | Does not stop leaks from the inside on its own |
| External treatment at construction | Outside of sump walls and base | New underground tanks | Not possible once backfilled |
Most water tank waterproofing jobs combine two layers. Repair closes the active leaks, and the lining makes the whole surface watertight and easy to clean.
The quickest-looking shortcut, a single coat of paint over a cracked wall, almost never lasts. The paint bridges nothing, and water behind it pushes it off within months.
Is The Coating Safe For Drinking Water?
Only if the product is certified for drinking water contact. A potable water coating is tested to show it does not release harmful substances into stored water. Ask for that proof before work starts, not after the tank smells of solvent.
Many floor, roof, and wall coatings are excellent at keeping water out, but they were never made to hold water you drink. The test that matters for water tank waterproofing is health, not just watertightness.
NSF explains that certification to NSF/ANSI/CAN 61 covers coatings in contact with drinking water, checking that they do not add harmful levels of contaminants. Whatever certificate a product carries, ask your contractor for three things:
The product data sheet, showing it is meant for drinking water tanks
The certificate or test report for drinking water contact
The full cure time before the tank can be filled and used
Then follow the cure time exactly. An uncured lining can leave taste and odour in the water even when the product itself is approved.
Should You Treat An Underground Sump Differently?
Yes. A sump faces water from both sides. When full, it pushes water out into the soil; when empty, groundwater and drain water can push in. Sump waterproofing must stop both, because inward leaks can carry dirt and sewage into stored water.
That two-way pressure makes a sump closer to a basement than to an overhead tank. Our basement waterproofing guide explains how groundwater pressure works against below-ground walls and why external treatment is strongest.
For an existing sump, a few points matter more than usual:
Keep sumps well away from drains, soak pits, and septic tanks wherever possible
Seal pipe entries from both sides, since groundwater follows the pipe
Check for muddy water after heavy rain, the clearest sign of inward leaks
Raise the sump lid above the surrounding ground so surface water cannot flow in
How Is A Water Tank Waterproofed Step By Step?
A sound water tank waterproofing job follows a fixed order from draining to testing. Skipping surface preparation or rushing the cure is the most common reason a new lining fails or taints the water.
Drain and isolate: empty the tank and shut the supply so no water enters during work.
Clean and inspect: remove silt and algae, then map every crack, joint, and pipe entry.
Open up defects: cut out hollow plaster and honeycombed patches back to sound concrete.
Seal active leaks: inject or repair cracks, the wall to base joint, and every pipe sleeve.
Form fillets: round the inside corners so the lining is not stretched over a sharp edge.
Apply the lining: lay the approved coating in the specified number of coats.
Cure fully: leave the tank empty for the full cure time on the data sheet.
Flush and test: wash out, disinfect, refill, and watch the water level with outlets shut.
Crack repair is the step that decides how long the lining lasts. Our concrete floor crack repair guide explains how cracks are routed and filled, and the same principles apply inside a tank.
How Do You Keep A Tank Leak-Free After Treatment?
Most relined tanks fail early from damage, not age. A new pipe drilled through the wall, a cracked lid, or a blocked overflow can undo a good lining. A short routine keeps the tank tight and the water clean.
Clean the tank on a schedule: silt and algae hide new cracks
Keep the lid sealed: light lets algae grow, and gaps let in dust, birds, and insects
Check the overflow: a blocked overflow spills water onto the roof slab
Seal every new fitting: treat any new pipe entry like the originals
Watch the slab below: a new damp patch is your earliest warning
Keep a record of the product used and the date of work. It tells the next person exactly what is in the tank and when it was done.
Frequently Asked Questions
Can a water tank be waterproofed without emptying it?
The inside cannot, because inner linings need a clean, dry surface and a full cure. Only the outside of an overhead tank can be coated while it stays in use.
How long does a tank stay out of use during the work?
It depends on the repair needed and the lining’s cure time on its data sheet. Plan an alternative water supply before the tank is drained.
Is roofing bitumen safe inside a drinking water tank?
Only if that exact product is certified for drinking water contact. Most roofing bitumen and roof coatings are made for weather protection, not for stored drinking water.
Do plastic water tanks need waterproofing?
Rarely. One-piece plastic tanks do not leak through the walls, as leaks usually start at fittings and connectors, so reseal or replace the fitting instead of lining the tank.
Why does the water smell after a new coating?
Usually the lining was not fully cured or the tank was not flushed well. Drain it, flush it, and let the coating finish curing as its data sheet requires.
Does water tank waterproofing stop algae?
No, water tank waterproofing seals leaks, not light. Algae grows where sunlight gets in, so repair broken lids and keep the tank fully covered.
Is Your Tank Ready For A Proper Seal?
Start with a site inspection, not a product. We trace where the water is going first, then recommend water tank waterproofing that suits the tank and keeps the water safe to use. Book a free inspection through our waterproofing services page.
Excerpt Content
A practical water tank waterproofing guide for concrete overhead tanks and underground sumps: why they leak, how to spot it early, which method suits which tank, and how to keep drinking water safe.
What do the statistics reveal?
- 9.81 kPa Water pressure added for every metre of water depth in a tank Standard hydrostatic formula (P = density x g x depth)
- NSF/ANSI/CAN 61 Standard that certifies coatings and other components in contact with drinking water NSF, Overview of NSF/ANSI/CAN 600 and Updated Health Effects Criteria
Serving India and nearby: Bangalore, Karnataka, New Delhi, Delhi.