


Epoxy Flooring Over Tiles: When It Works And When It Fails
 28 Oct 2026
Epoxy Flooring Over Tiles: When It Works And When It Fails
- Posted by Admin
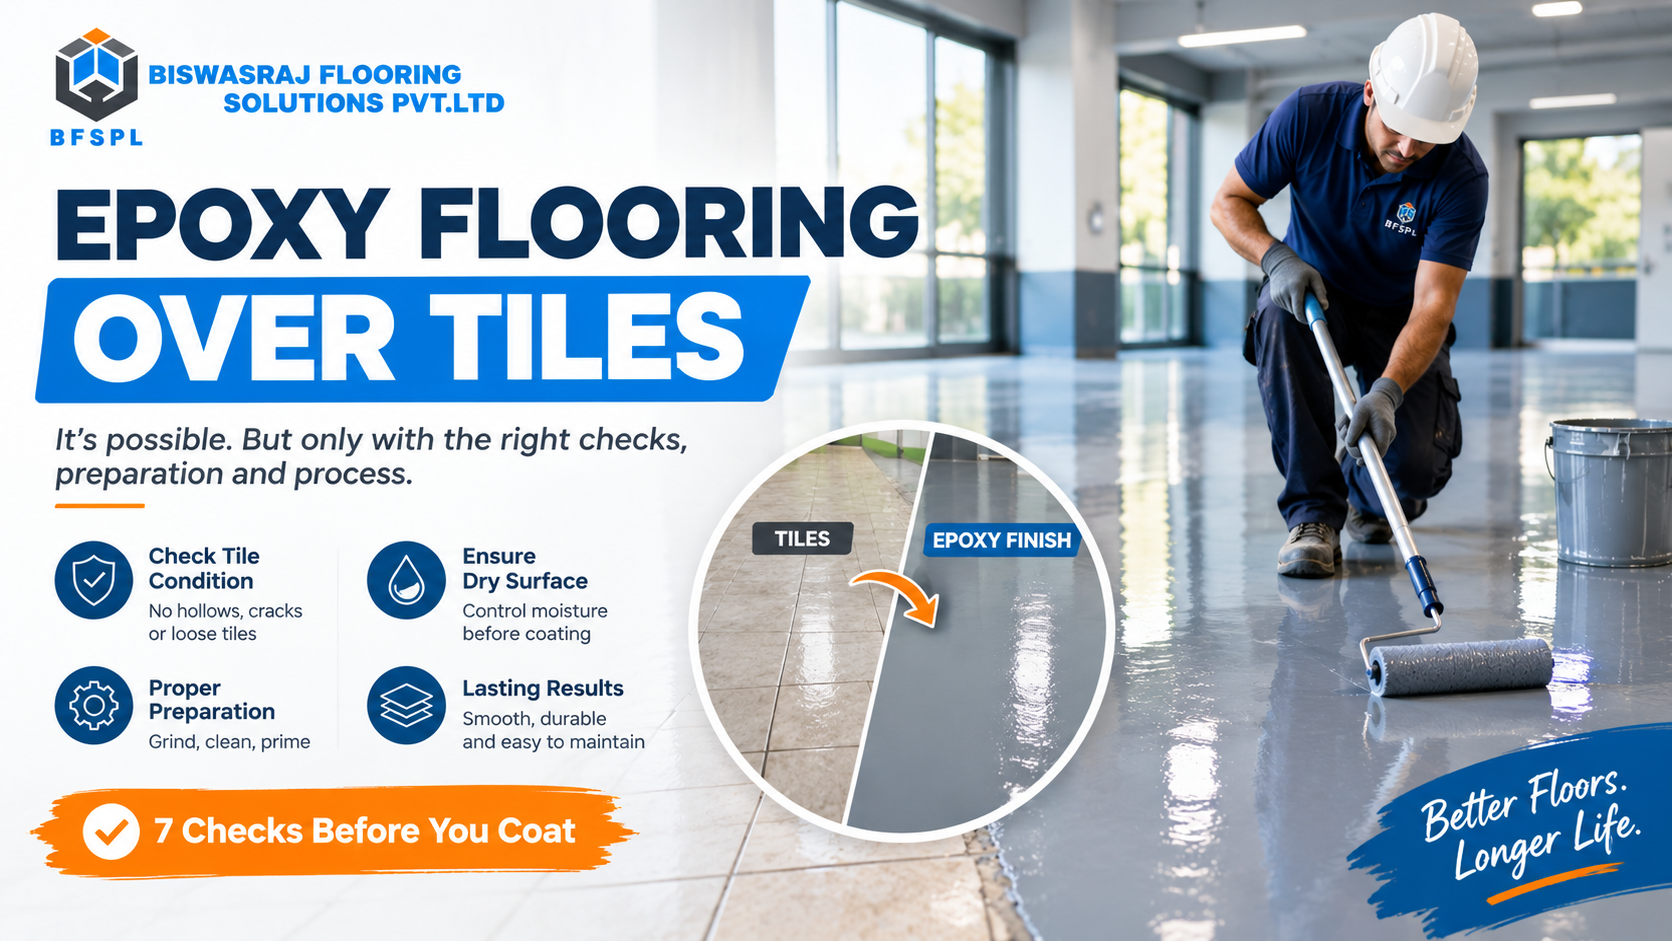
Epoxy flooring over tiles works when the tiles are firmly bonded, the floor is dry and the glazed surface is mechanically prepared, and it fails over hollow tiles, damp floors or live joints. Run 7 checks before any resin goes down.
Our epoxy flooring service starts with a site visit that checks the slab and its moisture. A tiled floor needs those checks plus a few more, and this guide lists them.
At A Glance
• Best for: sound, dry, well-bonded tile floors
• Prep: grind or blast the glaze, fill grout, fix hollow tiles
• Check first: bond, moisture, movement, grout, surface, height, use
• Duration: 3 to 7 days for most epoxy projects, longer with tile repairs
Can You Apply Epoxy Flooring Over Tiles?
Yes, epoxy flooring over tiles is possible when the existing tiles are sound, dry and mechanically prepared. The coating bonds to the tile, so the floor is only as strong as the tile’s own bond to the slab beneath.
That bond is the whole question. One manufacturer’s technical data sheet for a tile primer limits its use to fully surveyed, sound installations of vitrified ceramic, quarry tile, marble and cementitious terrazzo.
Applying epoxy over existing tiles saves demolition, but only where the floor passes the checks below.
Already weighing epoxy against tiles for a new floor? Read our epoxy flooring vs tiling comparison first. This guide starts after that choice, with the tiles already laid.
Can Epoxy Be Applied Over Vitrified Tiles?
Yes, if the vitrified tiles are firmly bonded, dry and mechanically prepared, because a glossy face gives resin nothing to grip. Manufacturers list fully and semi vitrified tiles among suitable substrates, but only once they are sound.
|
Existing floor |
Verdict |
Why |
|
Vitrified or ceramic tile, firmly bonded |
Possible after preparation |
The glaze must be broken and the surface cleaned |
|
Quarry tile, marble or cementitious terrazzo |
Possible after preparation |
Listed as suitable when sound |
|
Hollow or loose tiles |
Remove and reinstate first |
A fault below reflects through the coating |
|
Cracked tiles over a fractured or sinking base |
Remove tiles and repair the base |
The movement will crack the resin |
|
Damp or leaking floor |
Fix the moisture first |
Vapour can blister the coating |
|
Live movement joints |
Carry the joints through |
The resin cannot bridge them |
Tile type matters less than condition. A new vitrified floor that is tight and dry is a better candidate than an old marble floor that rings hollow.
What Does An Epoxy Primer For Tiles Actually Do?
An epoxy primer for tiles creates the bond between the prepared tile face and the resin build above it. It only works on a surface that was degreased and mechanically opened first, because a primer cannot grip a glaze.
Epoxy flooring over tiles therefore starts with preparation, not coating. The data sheet calls surface preparation the most vital step and says inadequate preparation leads to loss of adhesion and failure.
Preparation follows a set order:
• Degrease the floor before any mechanical work
• Break the glaze with a dust-extracted diamond grinder, or light shot blasting on large areas
• Check that water drops wet the prepared surface readily
• Survey for soundness again once the glaze is gone
• Prime inside the overcoat window, which is 8 to 16 hours at 20°C for this primer
Follow the data sheet of the system you actually use. These figures belong to one product and show how tight the controls are, not a rule for every resin.
How Do Hollow Tiles, Grout And Joints Affect The Result?
Anything unsound below the coating shows up above it. The data sheet states that any failure of the substrate reflects through to the topping, so hollow or loose tiles are removed and reinstated before priming.
Tap every tile with a steel rod and mark the hollow ones with chalk, the same check described in our guide to why epoxy floors peel, bubble and fail. A hollow tile has lost contact with its bed, and a surface coating cannot bond it back.
Grout lines need the same care. The sheet asks for sound joints, ideally epoxy grout, brought level with the tile face so the lines do not telegraph through. It adds that thin coatings reflect the surface texture.
For a smooth, grout-free look, plan a thicker build such as a self-levelling system rather than a single thin coat.
Live movement joints in a tiled floor must be continued through the resin, never coated over. Where cracks keep reopening, the cause is movement in the slab, not the coating.
How Does Moisture Decide Whether Epoxy Over Tiles Lasts?
Moisture decides whether epoxy flooring over tiles lasts more often than the resin does. The data sheet requires a dry substrate with an effective damp proof membrane and no more than 5% by weight of residual moisture, about 75% relative humidity.
Tiles hide moisture problems rather than solve them. A tile face and a resin film both slow vapour, so water that did no harm under tile can blister a coating. Test the floor before you commit.
Site conditions matter as much as the floor:
• Slab and air above 10°C and rising, up to 25°C for this primer
• Surface at least 3°C above the dew point during early cure
• Good ventilation, because condensation can bloom the surface
Many Indian summer sites run hotter than 25°C, so check the temperature limits and working life of the system you plan to use.
Will Epoxy Over Tiles Change Floor Height Or Slip Resistance?
Yes, in both cases. A coating adds thickness and changes grip, so check door clearances, drains and adjoining floor levels, and ask for an anti-skid finish wherever the floor gets wet. Plain glossy epoxy can be slippery when wet.
Height is easy to miss on a floor that already meets a door frame or a lift threshold. Mark every transition before you choose the build thickness, because tapering a coating at a doorway is easier to plan than to fix.
What Does The Process Look Like On A Tiled Floor?
The process follows our standard epoxy sequence, with extra tile steps at the start. Each stage has to pass before the next begins, because a fault in an early stage shows through every coat above it.
1. Site assessment: tap test, moisture check, tile type and traffic noted
2. Tile repairs: hollow or loose tiles reinstated, cracks and holes treated
3. Surface preparation: degrease, then grind or blast to break the glaze
4. Grout and levels: joints filled level and high spots removed
5. Primer: applied inside the overcoat window
6. Epoxy build: base coat at the thickness the use needs, with a decorative layer if required
7. Topcoat and sealing: UV stability, gloss and abrasion resistance, with an anti-skid finish where needed
8. Curing and inspection: controlled cure, then thickness, adhesion and finish checked before handover
When Is It Better To Remove The Tiles First?
Remove the tiles when the problems under them are bigger than the coating can hide. Widespread hollow tiles, a damp or sinking base, deep grout joints and heavy wheel traffic all point to stripping back to the slab.
• Many tiles sound hollow when tapped
• The base shows cracks, fracture or subsidence
• Moisture is rising through the floor
• Pallet trucks or forklifts will run on it
• The finished height must match an existing level
Where the base keeps cracking, treat the cause before any coating. Our guide to stopping concrete floor cracks in your factory explains how to read those cracks.
Heavy wheels are the clearest case. Epoxy flooring over tiles bonds to the tile, so wheel loads pass through the tile’s adhesive bed. Stripping to the slab lets the resin bond to prepared concrete instead, which is how our standard epoxy process works.
What Should You Check Before You Coat A Tiled Floor?
Before epoxy flooring over tiles goes ahead, run 7 checks: bond, moisture, movement, grout, surface, height and use. Any one failure changes the plan.
1. Bond: tap every tile and mark the hollow ones
2. Moisture: test the floor and confirm a damp proof membrane exists
3. Movement: look for cracks, fracture, sinking and live joints
4. Grout: check joints are sound and plan to fill them level
5. Surface: degrease, break the glaze and confirm water wets it
6. Height: mark doors, drains and transitions
7. Use: decide on traffic, wet areas and the grip of the finish
Frequently Asked Questions
Can epoxy hide cracked or hollow tiles?
No. Cracks and loose tiles reflect through the coating, so they are removed and reinstated first, and any fracture or sinking in the base is understood before work starts.
Does epoxy stick to glossy tiles without grinding?
Not reliably. The glaze has to be broken by grinding or light blasting, and the surface left clean and textured, before a tile primer goes on.
Will grout lines show through the epoxy?
They can, because thin coatings reflect the surface texture. Joints are filled level with the tile face, or a thicker build is chosen.
How long does epoxy over tile take?
Most of our epoxy projects take 3 to 7 days, depending on area, coats and cure time between layers. Repairing hollow tiles and filling grout adds to that.
Is epoxy suitable over tiles under forklift traffic?
Usually not. Epoxy flooring over tiles bonds to the tile, so wheel loads reach the tile’s adhesive bed, and removing the tiles to coat the prepared slab is the safer route.
Do movement joints stay in a coated tile floor?
Yes. Live movement joints are carried through the resin and agreed at the design stage, not coated over.
How Do You Get A Tiled Floor Assessed?
Send photos of the floor, the tile type and the places where water or wheels reach it, and we will say whether coating or removal makes more sense. To check bond, moisture and grout on site, book a free site visit.
Epoxy flooring over tiles is a good result when it follows the checks and a poor one when it skips them.
Serving India and nearby: New Delhi, Delhi.
Sources
- https://www.altro.com/getmedia/48d5ccb7-39ba-44f8-9041-495cac2fb28b/Altro-Technical-Data-Sheet-Altro-Prime-ceramic.pdf?ext=.pdf
- https://biswasrajflooring.in/blogdetail/epoxy-flooring-problems